
Design for experiments is an algorithmic based tool that is found in DP, which help the designer - us in this case - to evaluate and provide a set of possibilities for a designed object. This algorithmic approach and the operation of the tool relies on the set of data (input) provided that derive and control the possible results (outcomes); data in this case, are derived from the parameters that control the sketch. The value of this digital tool - and this computational approach - is to tackle design issues through a an infinite set of possibilities and outcomes, each of these results are evaluated based on measured properties, for example, in this assignment, the volume of the altered object is the source of evaluation.

Image 1: as any of the previous projects that have been presented, creating the sketch is the initial step. In this sketch the geometry (circle) is constrained and controlled through the construction geometry (horizontal and vertical lines), which are also constrained with length values. Each measured element in this sketch is edited with a formula (parameter) to help establish the base for deriving the geometry when processing the algorithms.

Image 2: shows the set of parameters that are used to control the sketch, and for our designed object, two sketches are used including the same parameters.

Image 3: after the sketches have been completed, in 3D space lines from the outputted geometry is drawn. The line will also be derived by a parameter (length and tension).
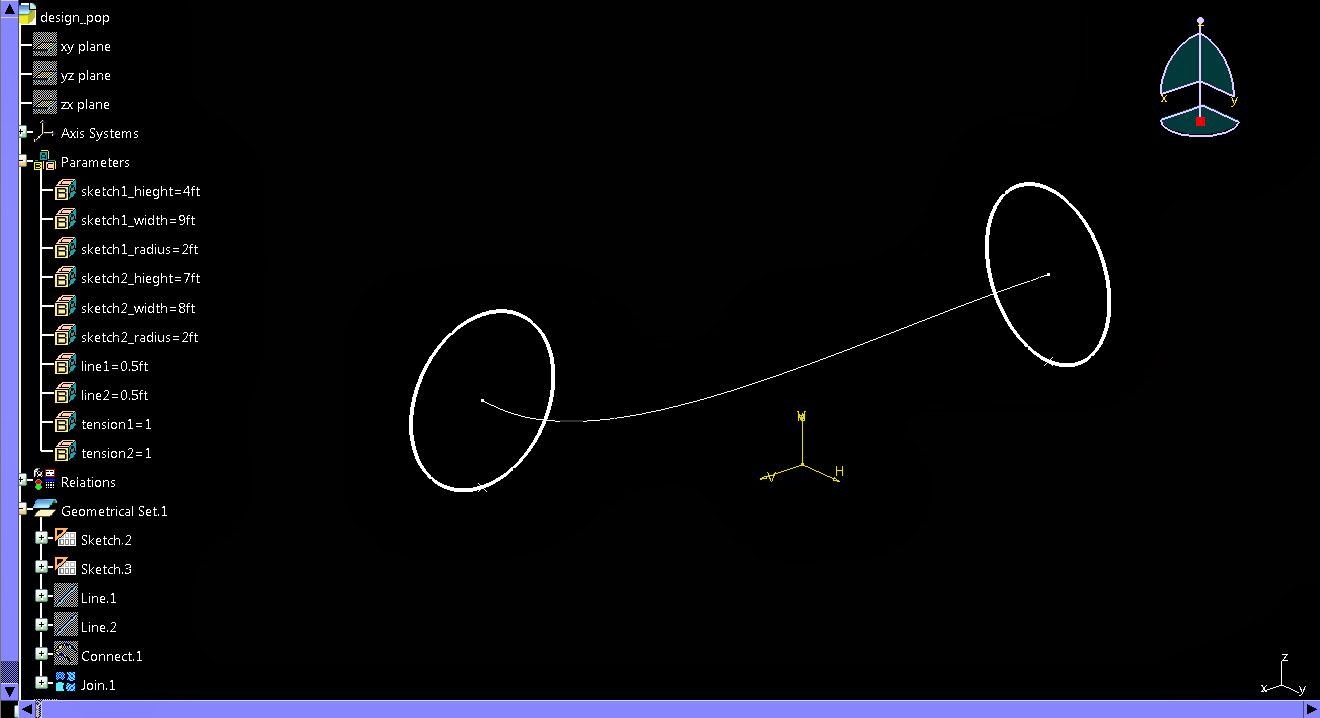
Image 4: Between the two sketches that we have made and the projecting lines in 3D space a "connecting" line is drawn. All three lines are then joined to create a single line that will be used when creating the multi sectional soled.

Image 5: shows the solid piece (object) that will be used in the algorithmic process.

Image 6: shows a test of the object to see if the geometry is responding to the change in the parameters' value. After making sure the geometry is in a good condition and there are no errors, then we will proceed with processing the different alterations and possibilities of the object.

Image 7: shows a different work bench in DP "Project Engineering Optimizer", in this work space we will start the process through the "design of experiments tool". The image shows the window where the parameters are imported, afterwards, the values of minimum and maximum and number of steps (possibilities) are added. In this case, each parameter will produce three options and we do have 6 parameters imported, so the total results of objects from the different parameter combinations are 730.

Image 8: shows only 20 out of the 730 different possibilities.

Image 9: shows the objects is Rhino, the total objects presented in this image are 9 and the one in red is the original design.
Comments
Post a Comment